Fuller-Looking Lips
How to Overline Your Lips Naturally: A Step-by-Step Guide for Thin Lips
A little liner, placed right, makes thin lips look fuller with no needle in sight. Here is the natural way to overline, step by step, finished with a glossy plumping topcoat.
Overlining has a bad name, and most of it traces to one habit: going too far. Drawn way past the natural lip, it reads as a traced-on shape that fools nobody. Kept close to where your lips already sit, it does the opposite. It follows your real outline, nudges it out by a hair, and lets light and shadow handle the rest.
That restraint is the whole trick, and it matters most on thin lips. You are not drawing a new mouth. You are coaxing the one you have to look a little rounder. Here is how to do it naturally, then top it with a high-shine plumping gloss for the finish. It is one of the no-needle moves in the full guide to fuller-looking lips without filler.
What overlining is (and the natural rule)
Overlining means tracing your lip line just outside your natural edge, then filling in, so lips look fuller than bare. The word scares people because they picture the extreme version. Done well, it barely registers as makeup.
The rule that keeps it believable is simple: follow the shape you already have. L'Oréal Paris puts it plainly in its overlined-lips tutorial: "Your lips are always going to appear more natural when you overline them by following their actual shape." You are enhancing your real outline, not inventing one. Who What Wear's guide to overlining lips agrees on how far to step over your line: slightly, with "slightly being the operative word."
Tools you need
Keep the kit small:
- A lip liner close to your natural lip color. Who What Wear recommends one "close to your natural lip color but two shades deeper," so the edge reads as a soft shadow.
- A lip brush or a clean fingertip for blending.
- A lipstick or tinted balm a touch lighter than your liner, for the center.
- A high-shine plumping gloss to top it off. More on that at Step 5.
A small handheld mirror earns its place too. Model Georgia May Jagger holds one below her bottom lip to see the line clearly, a tip Who What Wear passes along.
Step 1: prep your lips
Smooth lips take liner evenly and look fuller on their own. Who What Wear notes that "healthy, moisturized lips naturally look fuller," so start by exfoliating gently, then follow with balm. Let it sink in, then blot the excess so nothing slides the liner around later. A dry, flaky surface grabs color in patches and wrecks the natural effect.
Step 2: draw the cupid's-bow V
Your cupid's bow sets the whole look, so start there. L'Oréal suggests you "create an X over your cupid's bow and fill it in according to the shape of your lips." Some artists draw a small heart or a soft V instead. Either way, you define the two peaks first and lift them by a hair. This is the spot that gives thin lips their pouty tilt, so take your time with it.
Step 3: follow your natural line out
From the bow, trace along your real lip line and drift just outside it. L'Oréal's rule holds here: go "slightly outside of your natural lip line," remembering that "less is more, so avoid creating a new shape or harsh lines." Work the middle of the bottom lip the same way, a touch fuller in the center where the light lands. Keep the corners close to your true line so the shape stays in proportion.
Step 4: blend
Hard edges are what make overlining look fake, so soften them. L'Oréal says to "use your fingertip or a lip brush to gently smudge your lip liner, creating a more natural, diffused line." Then fill in with a lipstick or balm a shade or two lighter than your liner. That lighter center against the deeper edge is the light-and-shadow move that makes lips read rounder.
Step 5: top with a high-shine plumping gloss
This is where thin lips go from lined to lit. A high-shine topcoat catches the light across the middle of your pout, and that bright center is what the eye reads as fullness. It is the step POUT'D was built for.
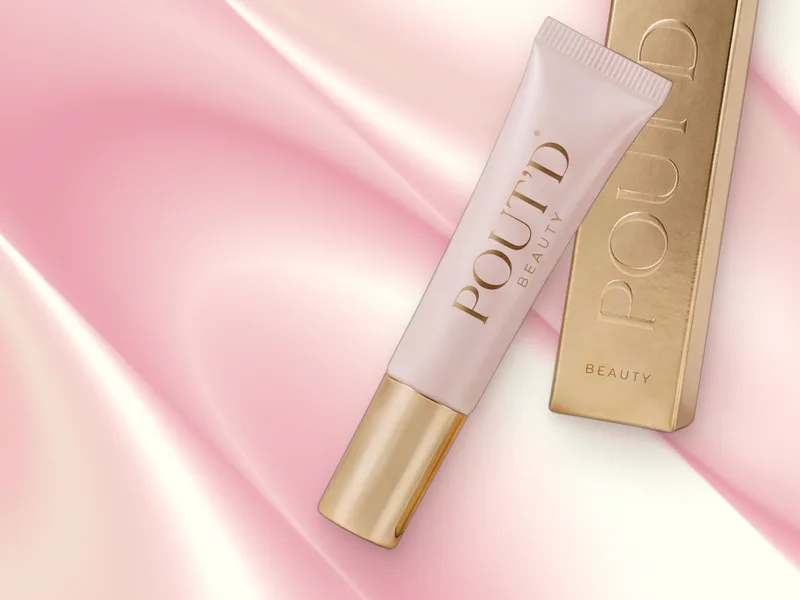
One swipe of POUT'D Lip Plumper over your blended lips adds wet-look shine and a soft warm buzz from capsicum extract. The warmth is the gloss working, not a flaw in the tube. Concentrate the shine in the center, the way a glossy finish fakes a fuller pout, and your overlined shape looks expensive with no harsh line in sight. For the placement in detail, here is the center-light gloss trick that pairs with it.
Overlining mistakes to avoid
A few habits undo all the care:
- Going too far. Overshooting your natural line is the fastest way to look drawn-on. A hair past your edge is plenty, per every guide here.
- Skipping prep. Dry lips take liner unevenly and photograph thinner, not fuller.
- Sharp, unblended edges. A hard outline announces itself. Smudge it soft.
- A liner far darker than your lips. It reads as a border, not a shadow. Two shades deeper is the limit.
- Stopping at liner. Without a glossy center to catch the light, thin lips stay flat. The shine is what sells the fullness.
How to overline naturally with POUT'D
A natural overline is liner for the shape and gloss for the lift. POUT'D Lip Plumper handles the lift: a high-shine topcoat with a gentle warm buzz, built on a hydrating base so thin lips stay soft under the shine. Overlining is also step two in a five-minute date-night pout when you are short on time.
- High-Shine Finish. A wet-look shine that catches the light right where thin lips need it, the center.
- Non-Sticky Feel. No gluey tug, so the shine stays where you place it instead of sliding off your overline.
- A plumper-looking pout. Capsicum extract brings a gentle warmth as the gloss settles.
- A smooth, hydrated canvas. Hyaluronic acid, collagen, ceramide, niacinamide, and vitamin E keep lips soft under the shine.
- Cruelty-Free · Paraben-Free. Both, right on the label.
Liner shapes it. One swipe tops it off. If you want help picking the gloss, here is our buyer's guide to the best lip plumper for thin lips.
Frequently asked questions
Can you overline thin lips without it looking fake?
What color liner should I use to overline?
How far outside my natural lip line can I go?
Does overlining ruin your lips?
Do I need a gloss on top?
Top it off
Your natural overline, finished with shine
You have the liner down. One swipe of POUT'D adds the wet-look, fuller-looking finish that makes thin lips read rounder. No needle, no four-figure appointment. Keep it in your bag and get Pout'd.